


Hey there! As an airleg drill supplier, I often get asked about the starting method of an airleg drill. It's a crucial topic, especially for those who are new to using these powerful tools. So, let's dive right in and explore how to start an airleg drill properly.
Understanding the Basics of an Airleg Drill
Before we talk about the starting method, it's important to understand what an airleg drill is. An airleg drill is a pneumatic tool used in mining, tunneling, and other construction applications. It's powered by compressed air, which makes it a reliable and efficient choice for drilling holes in hard rock.
We offer a range of airleg drills, including the YT24 Air Leg Rock Drill, YT28 Rock Drill, and YT30G Air Leg Rock Drill. Each of these drills has its own unique features and benefits, but they all share the same basic starting principles.
Pre - Start Checks
Before you start an airleg drill, you need to perform a series of checks to ensure its safe and proper operation.
1. Inspect the Drill
First, take a good look at the drill. Check for any visible damage, such as cracks in the body, loose parts, or worn - out components. Make sure the drill bit is in good condition and properly installed. A damaged drill bit can not only affect the drilling performance but also pose a safety hazard.
2. Check the Air Supply
The air supply is the lifeblood of an airleg drill. Ensure that the air compressor is working properly and that the air pressure is within the recommended range for your drill. Most airleg drills require an air pressure of around 0.4 - 0.6 MPa. You can use a pressure gauge to check the air pressure. Also, make sure the air hose is properly connected and there are no leaks. A leaky air hose can reduce the efficiency of the drill and waste compressed air.
3. Lubrication
Proper lubrication is essential for the smooth operation of an airleg drill. Check the lubricator and make sure it is filled with the appropriate lubricant. The lubricant helps to reduce friction between the moving parts of the drill, which in turn extends the lifespan of the tool. Follow the manufacturer's recommendations for the type and amount of lubricant to use.
The Starting Process
Once you've completed the pre - start checks, it's time to start the airleg drill. Here's a step - by - step guide:
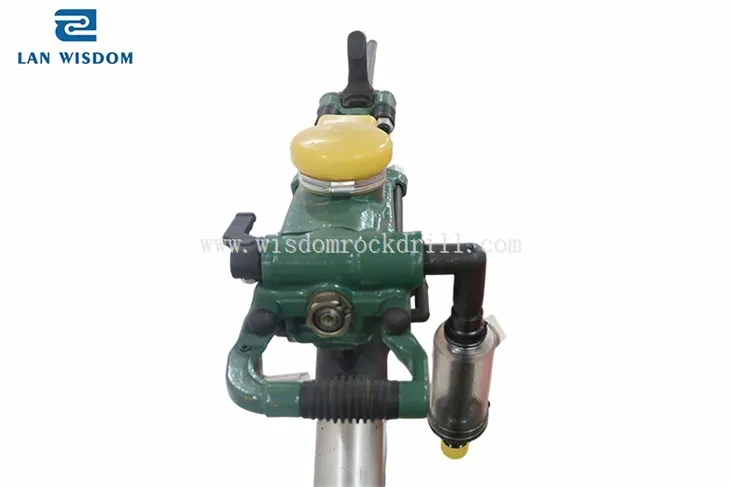
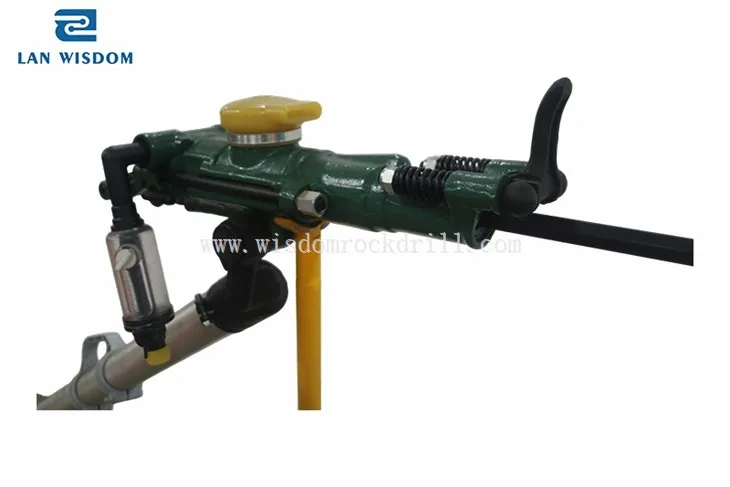
1. Position the Drill
Place the airleg drill in the desired position. Make sure it is stable and firmly supported. The airleg should be adjusted to the correct height and angle for the drilling operation. You may need to use the leg's adjustable features to achieve the right position.
2. Open the Air Valve
Slowly open the air valve on the drill. This allows compressed air to enter the drill and start the internal mechanisms. As the air flows into the drill, you'll hear the drill start to make a humming sound. This indicates that the drill is starting up.
3. Start Drilling
Once the drill is running, gently press the drill bit against the surface you want to drill. Apply a steady and even pressure to start the drilling process. Be careful not to apply too much pressure at the beginning, as this can cause the drill bit to break or the drill to jam. As the drill bit penetrates the surface, you can gradually increase the pressure.
4. Monitor the Drill
While the drill is running, keep an eye on its performance. Listen for any unusual noises or vibrations, which could indicate a problem. If you notice any issues, stop the drill immediately and check for the cause. Also, monitor the air pressure and the lubrication level during the drilling process.
Troubleshooting Common Starting Problems
Sometimes, you may encounter problems when trying to start an airleg drill. Here are some common issues and how to solve them:
1. Drill Won't Start
If the drill won't start, the first thing to check is the air supply. Make sure the air compressor is running and the air valve is fully open. Check for any blockages in the air hose or the drill's air passages. If the problem persists, there may be an issue with the drill's internal components, such as the piston or the valve. In this case, it's best to consult a professional for repair.
2. Drill Starts but Runs Erratically
If the drill starts but runs erratically, it could be due to a low air pressure or a problem with the lubrication. Check the air pressure and make sure it is within the recommended range. Also, check the lubricator to ensure that the drill is getting enough lubrication.
3. Excessive Noise or Vibration
Excessive noise or vibration can be a sign of a worn - out drill bit, loose parts, or an unbalanced drill. Check the drill bit for wear and replace it if necessary. Tighten any loose parts and make sure the drill is properly balanced.
Conclusion
Starting an airleg drill correctly is essential for its safe and efficient operation. By following the pre - start checks, the proper starting process, and troubleshooting any problems that may arise, you can ensure that your airleg drill performs at its best.
If you're in the market for an airleg drill, we have a great selection of high - quality drills to choose from, including the YT24 Air Leg Rock Drill, YT28 Rock Drill, and YT30G Air Leg Rock Drill. If you have any questions or are interested in purchasing an airleg drill, don't hesitate to reach out. We're here to help you find the right drill for your needs.
References
Manufacturer's manuals for airleg drills
Industry standards for pneumatic tools


